
Setting Up OpenID Connect (OIDC) to Thinkific
Connecting an Open ID Connect (OIDC) system to Thinkific can be achieved in two ways:
- Via the Thinkific OIDC App. Note that this feature is exclusive to Thinkific Plus and will disable all other login methods on your Thinkific site. Click here for more details.
- WooNinja SSO Connector
In the case of our connector, at minimum data you will require is:
- Client ID
- Client Secret
- The Well-known Configuration URL e.g. https://example.oidc.local/oidc/.well-known/openid-configuration
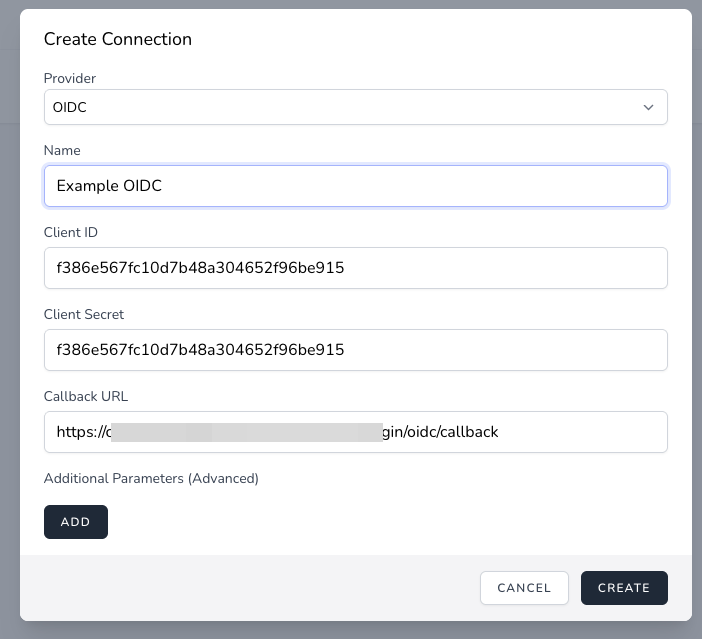
Open your SSO connector, click Create Connection, and then select OIDC.
Note: If your OIDC connections use 'Basic Authentication/Auth', select OIDC (Basic Auth) as the provider, and proceed with the setup as described below.
Enter your Client ID and Secret:
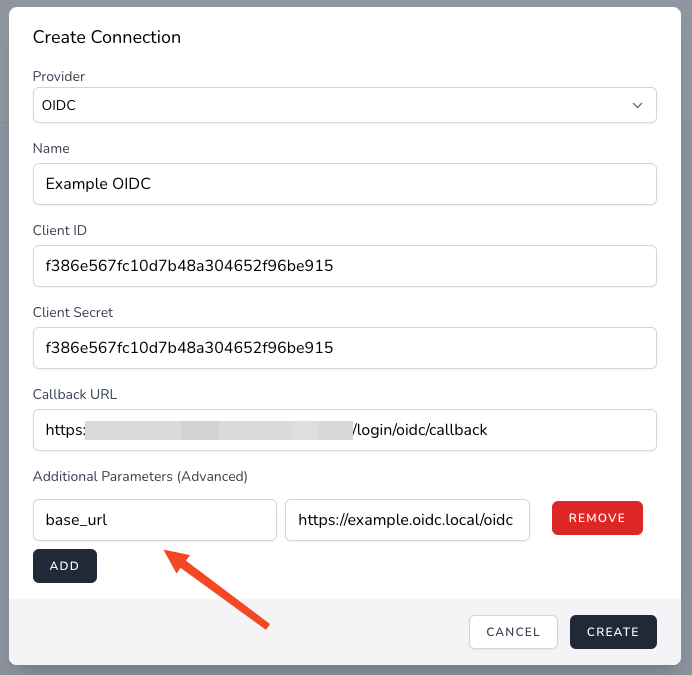
Under Additional Parameters, click Add. Then enter base_url and the start of the URL you were given for the well-known configuration, including the path up to OIDC. In our example, this value would be: https://example.oidc.local/oidc
Note: Some URLs may include a "2" in the URL e.g.
https://acme.corp.local/oidc/2/.well-known/openid-configuration
In this case, your base_url would be:
https://acme.corp.local/oidc/2
Tip: In general, to format the base_url, you should remove the "/.well-known/openid-configuration" from the URL, and the remaining URL is your base_url
Click Create, and your connection is ready to use.