
Add Student to Thinkific Group via SSO by Application or Link
When a student uses the SSO Connector, we can automatically assign them to a Thinkific Group. This can be useful for tracking the use of the system by external users, or if you grant Group Analyst permissions then those analysts can view the progress of their students.
You can assign groups based on the Application a student is using, or for specific Links. This permits you to be granular on which students are placed in which Thinkific Groups.
Note:
- Due to limitations of the Thinkific API, it is not possible to remove students from groups using the SSO connector. You must manually remove students from their group using the Thinkific Admin dashboard.
- If you later add or remove a Group from a Link or Application, existing users in those Thinkfiic Groups will not be added or removed.
Important Notes
- You can assign as many groups to an Application as you wish
- Addition to a group is asynchronous and may take upwards of 10 minutes to complete.
- You can assign as many groups to a Link as you wish
- Addition to a group is asynchronous and may take upwards of 10 minutes to complete.
- If a user clicks a Link, and that Link has a group(s) attached (see below), the application group will also be applied.
Adding User to a Group by Application
1. Navigate to your Nova Backoffice

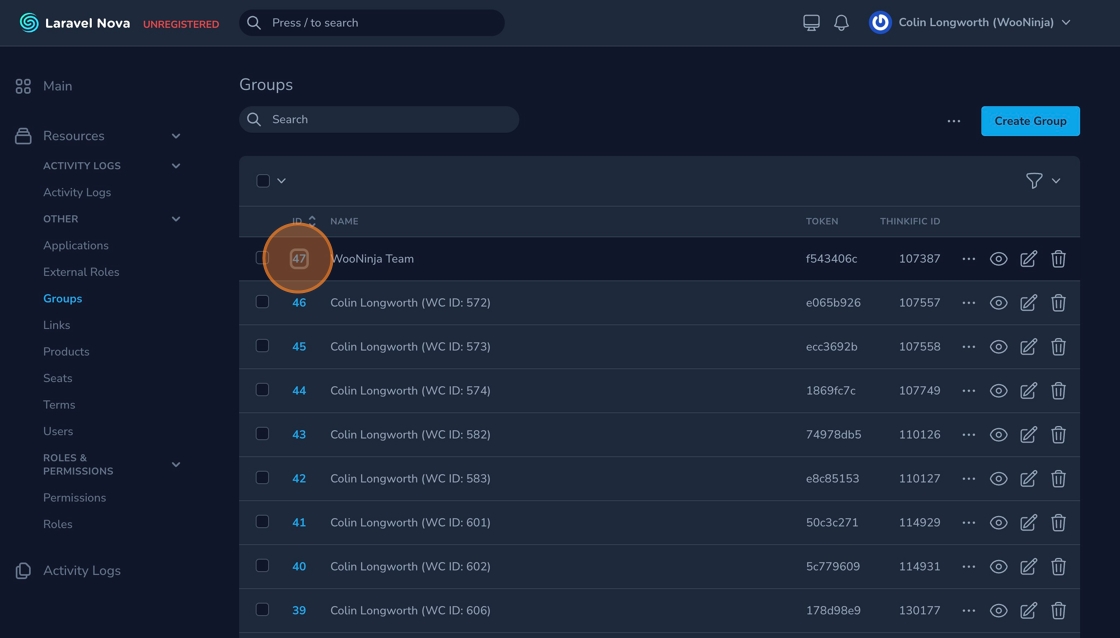
2. Click "Groups"

3. Choose the group you wish to assign.
4. To add a user to a group when they utilise a specific application, click "Attach Application"

5. Choose the application.

6. Click "Attach Application"

Adding User to a Group by Link
7. If you wish a user to be placed in a specific group when they click a certain link, click Attach Link

8. Choose the link

9. Click "Attach Link"
